
How to grow Ranunculus & Anemone
This article is in process! Check back soon for the full, finished, guide!
Planting and growing tips for the best possible success in growing these spring bloom beauties.
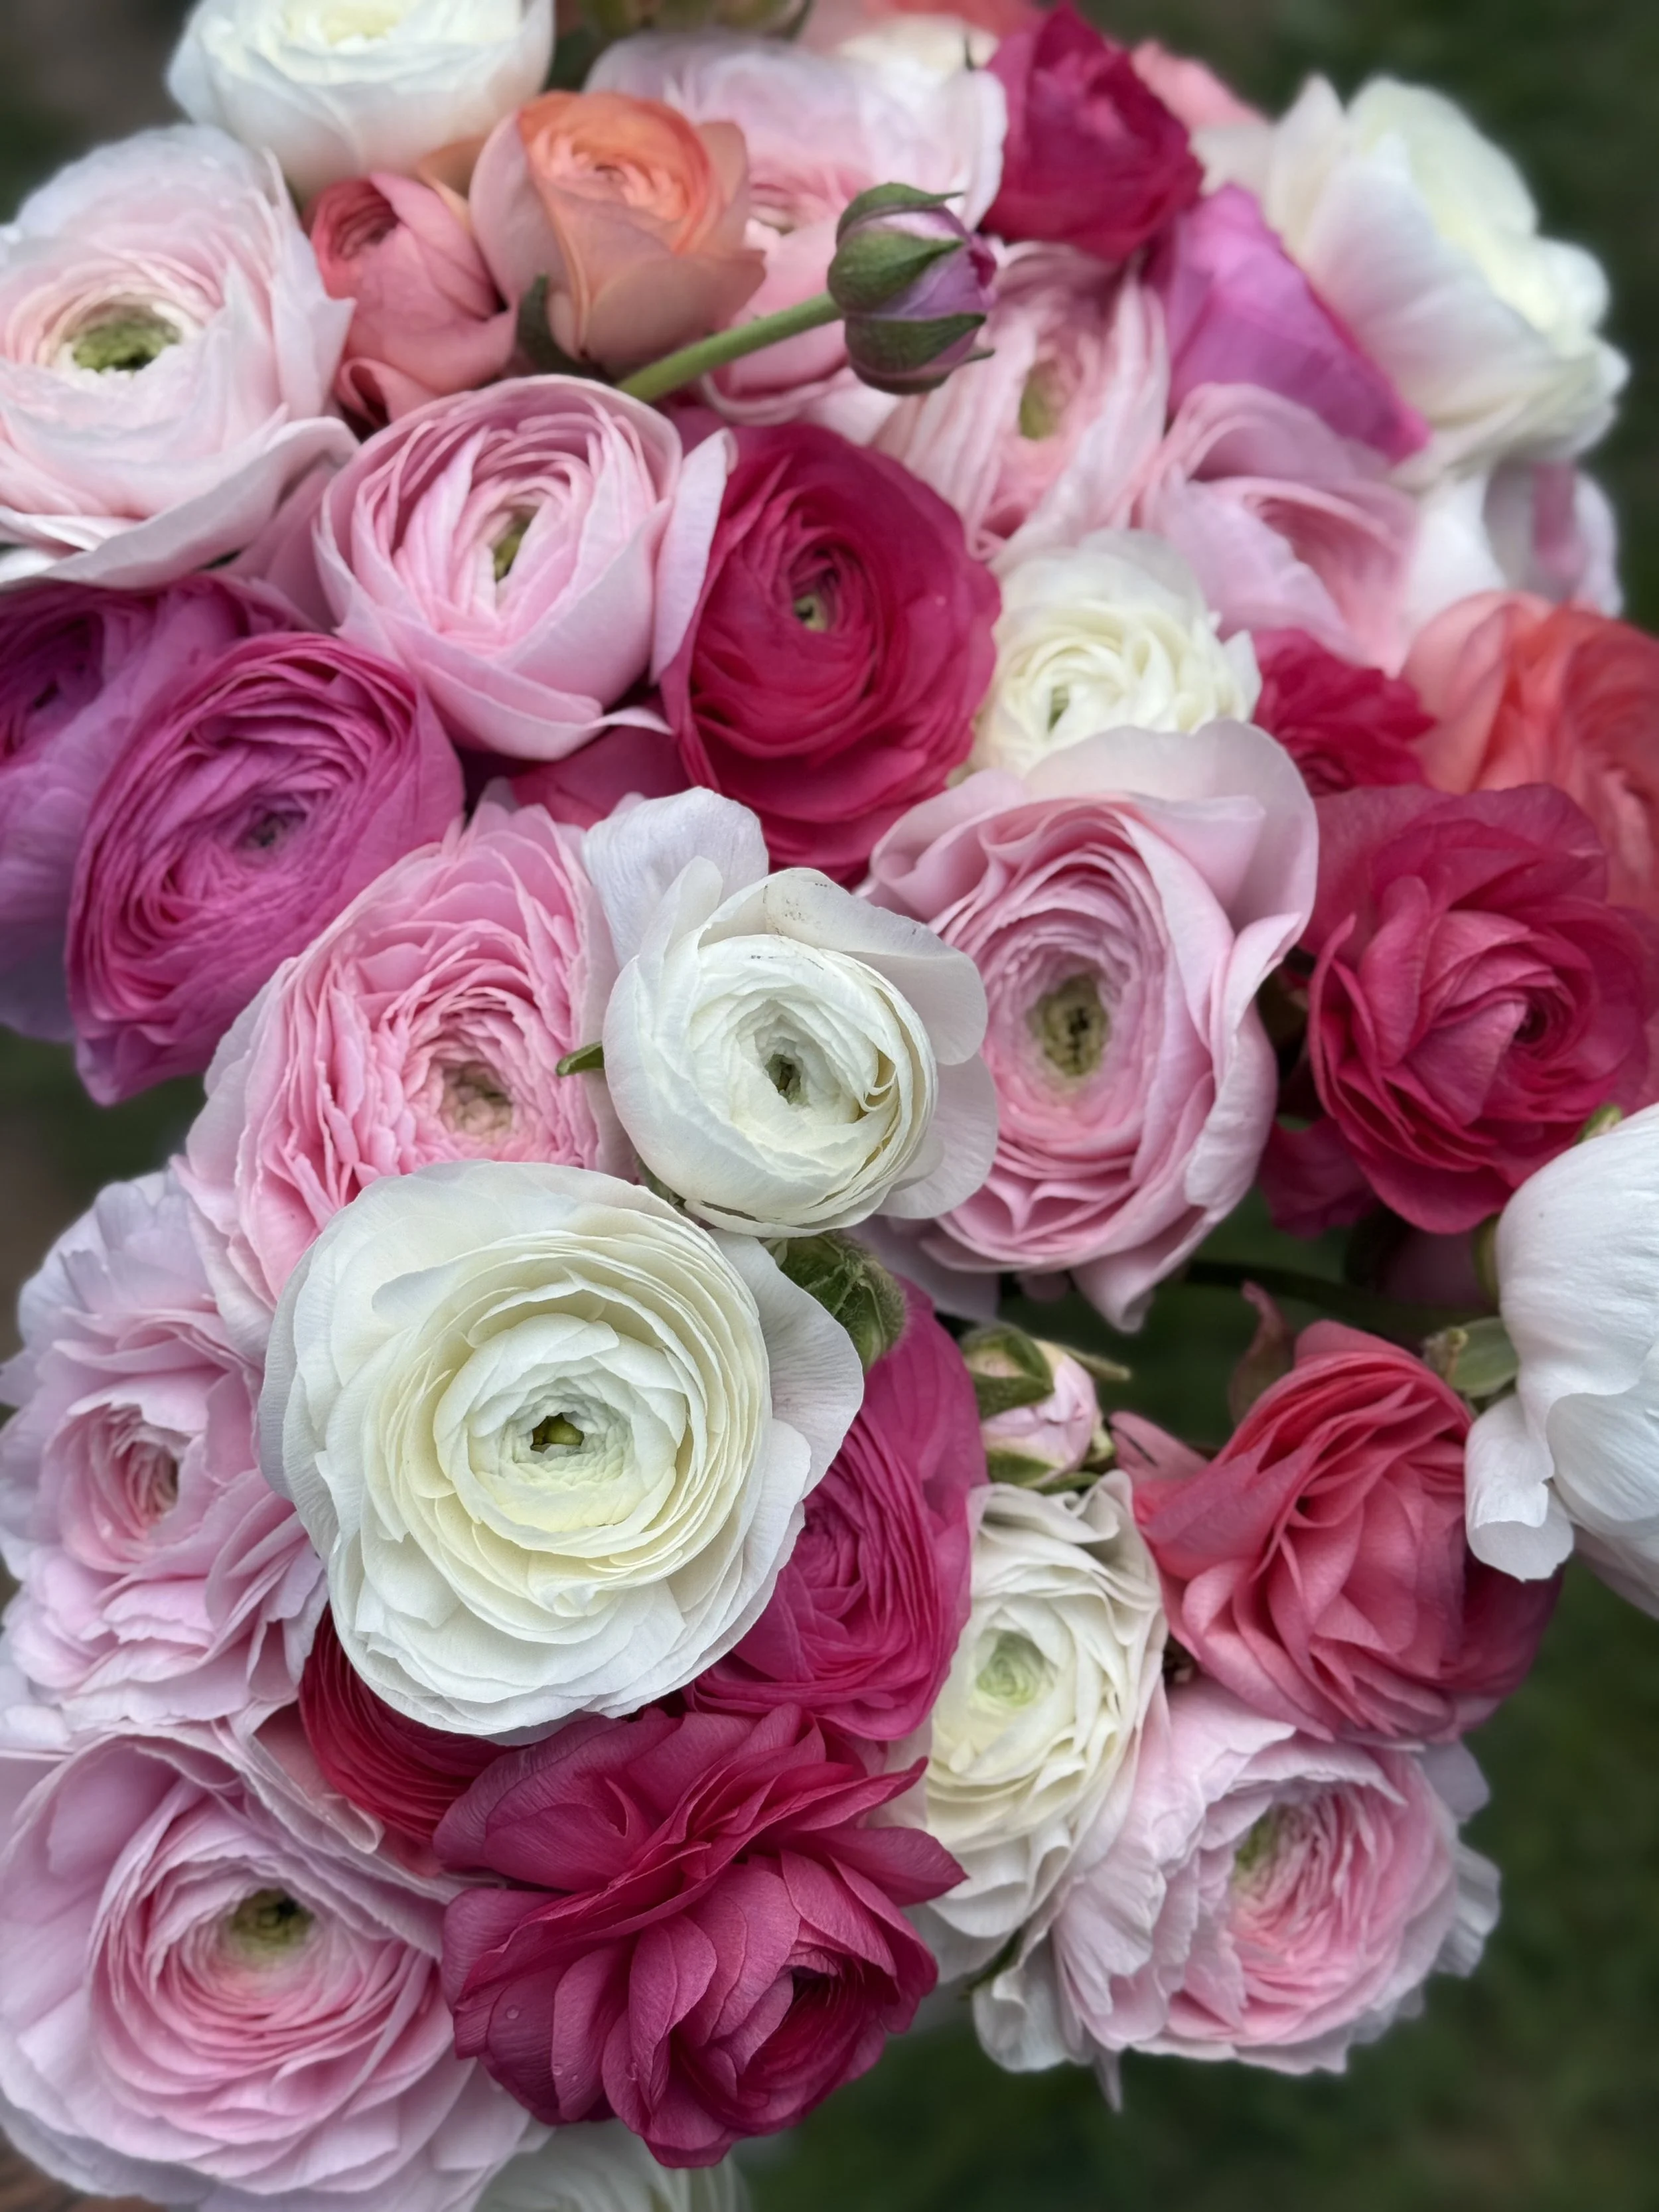
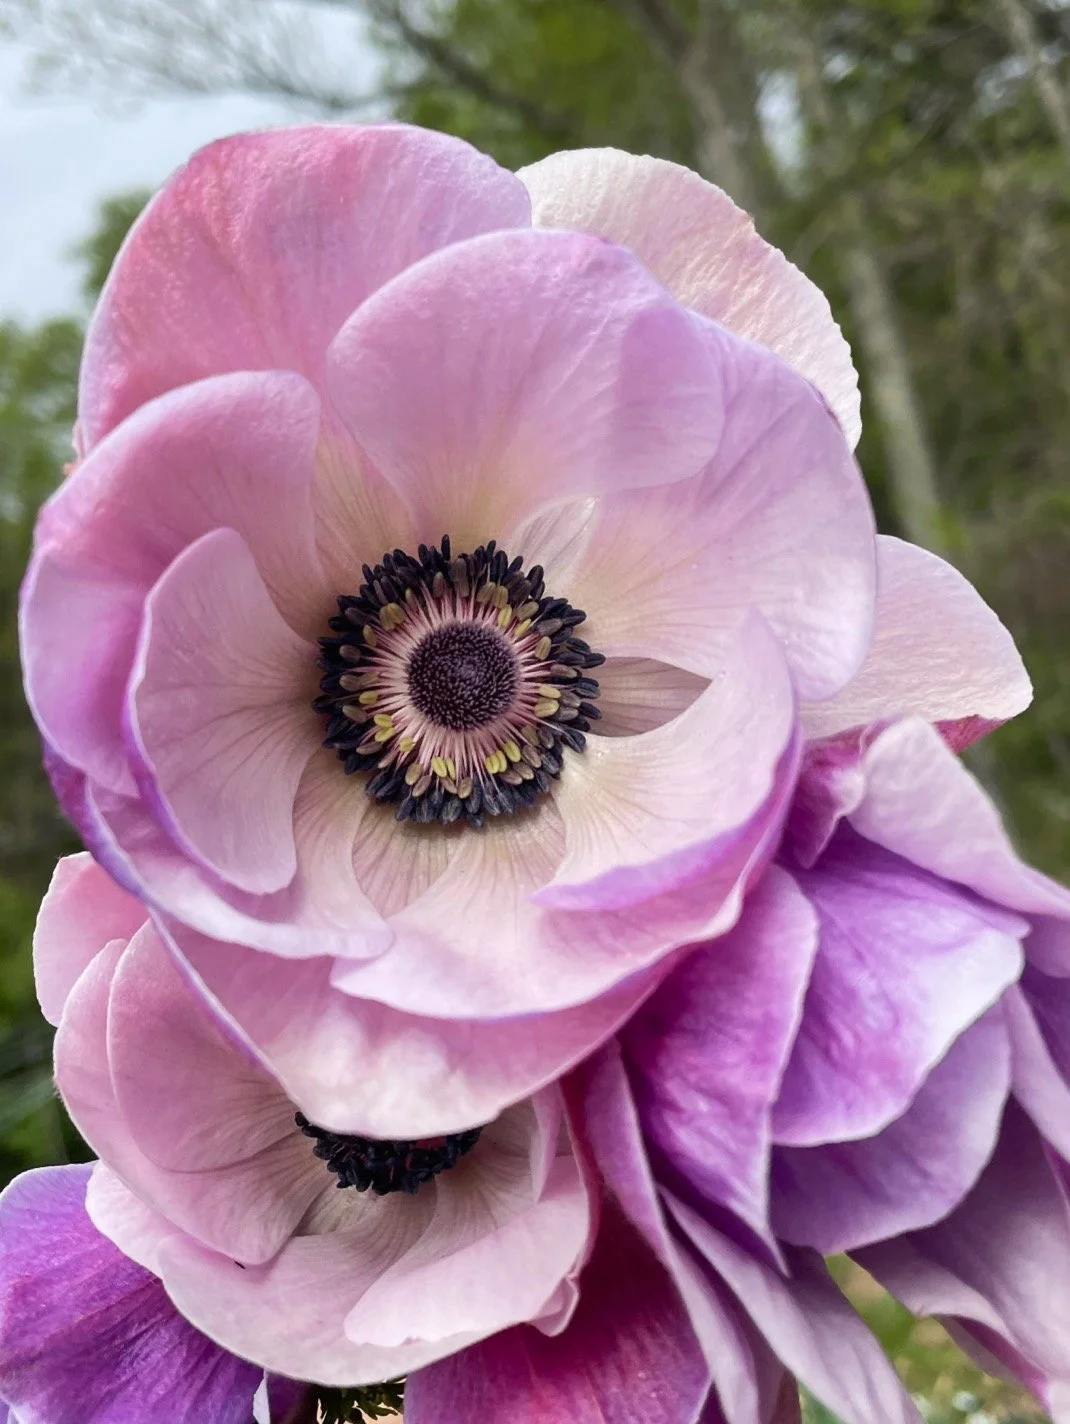
While ranunculus and anemone can be finicky to successfully grow, this guide should serve as a solid foundation to understand what the plants need to produce stunning spring blooms!
Let’s start with the basics:
Ranunculus and anemone are grown from corms. Ranunculus corms look like little bunches of upside down bananas, while anemone corms are solid and usually have a pointy end. We’ll talk more about corm shape when we get into planting instructions.
Your planting time will depend on your location. For us here in the mountains of western NC (zone 7a), we begin planting in the fall. If you are in growing zones further north, you may need to plant in the early spring. The plants need about 90-110 days to grow in cool soil, ideally between 45 to 60 degrees, to begin blooming before temperatures get too warm in the spring. Once the soil temps hit 60 degrees and above, the plants start shutting down.
You can succession plant both crops. For our planting schedule this looks like one succession by early November, one in late January, and one in late February.
Both ranunculus and anemone appreciate a growing spot that receives 6+ hours of sun with well draining soil, amended with compost.
The plants will need protection through the winter during periods of elongated freezing temperatures. Anemone can withstand temps down into the high 20’s but ranunculus are much more tender and need protection under around 30 degrees. You can use garden hoops and agribon fabric to protect the plants (being sure the fabric doesn’t touch the plants themselves). If you’re planting in a landscape setting, you can cover individual plants with an insulated pot or similar covering.
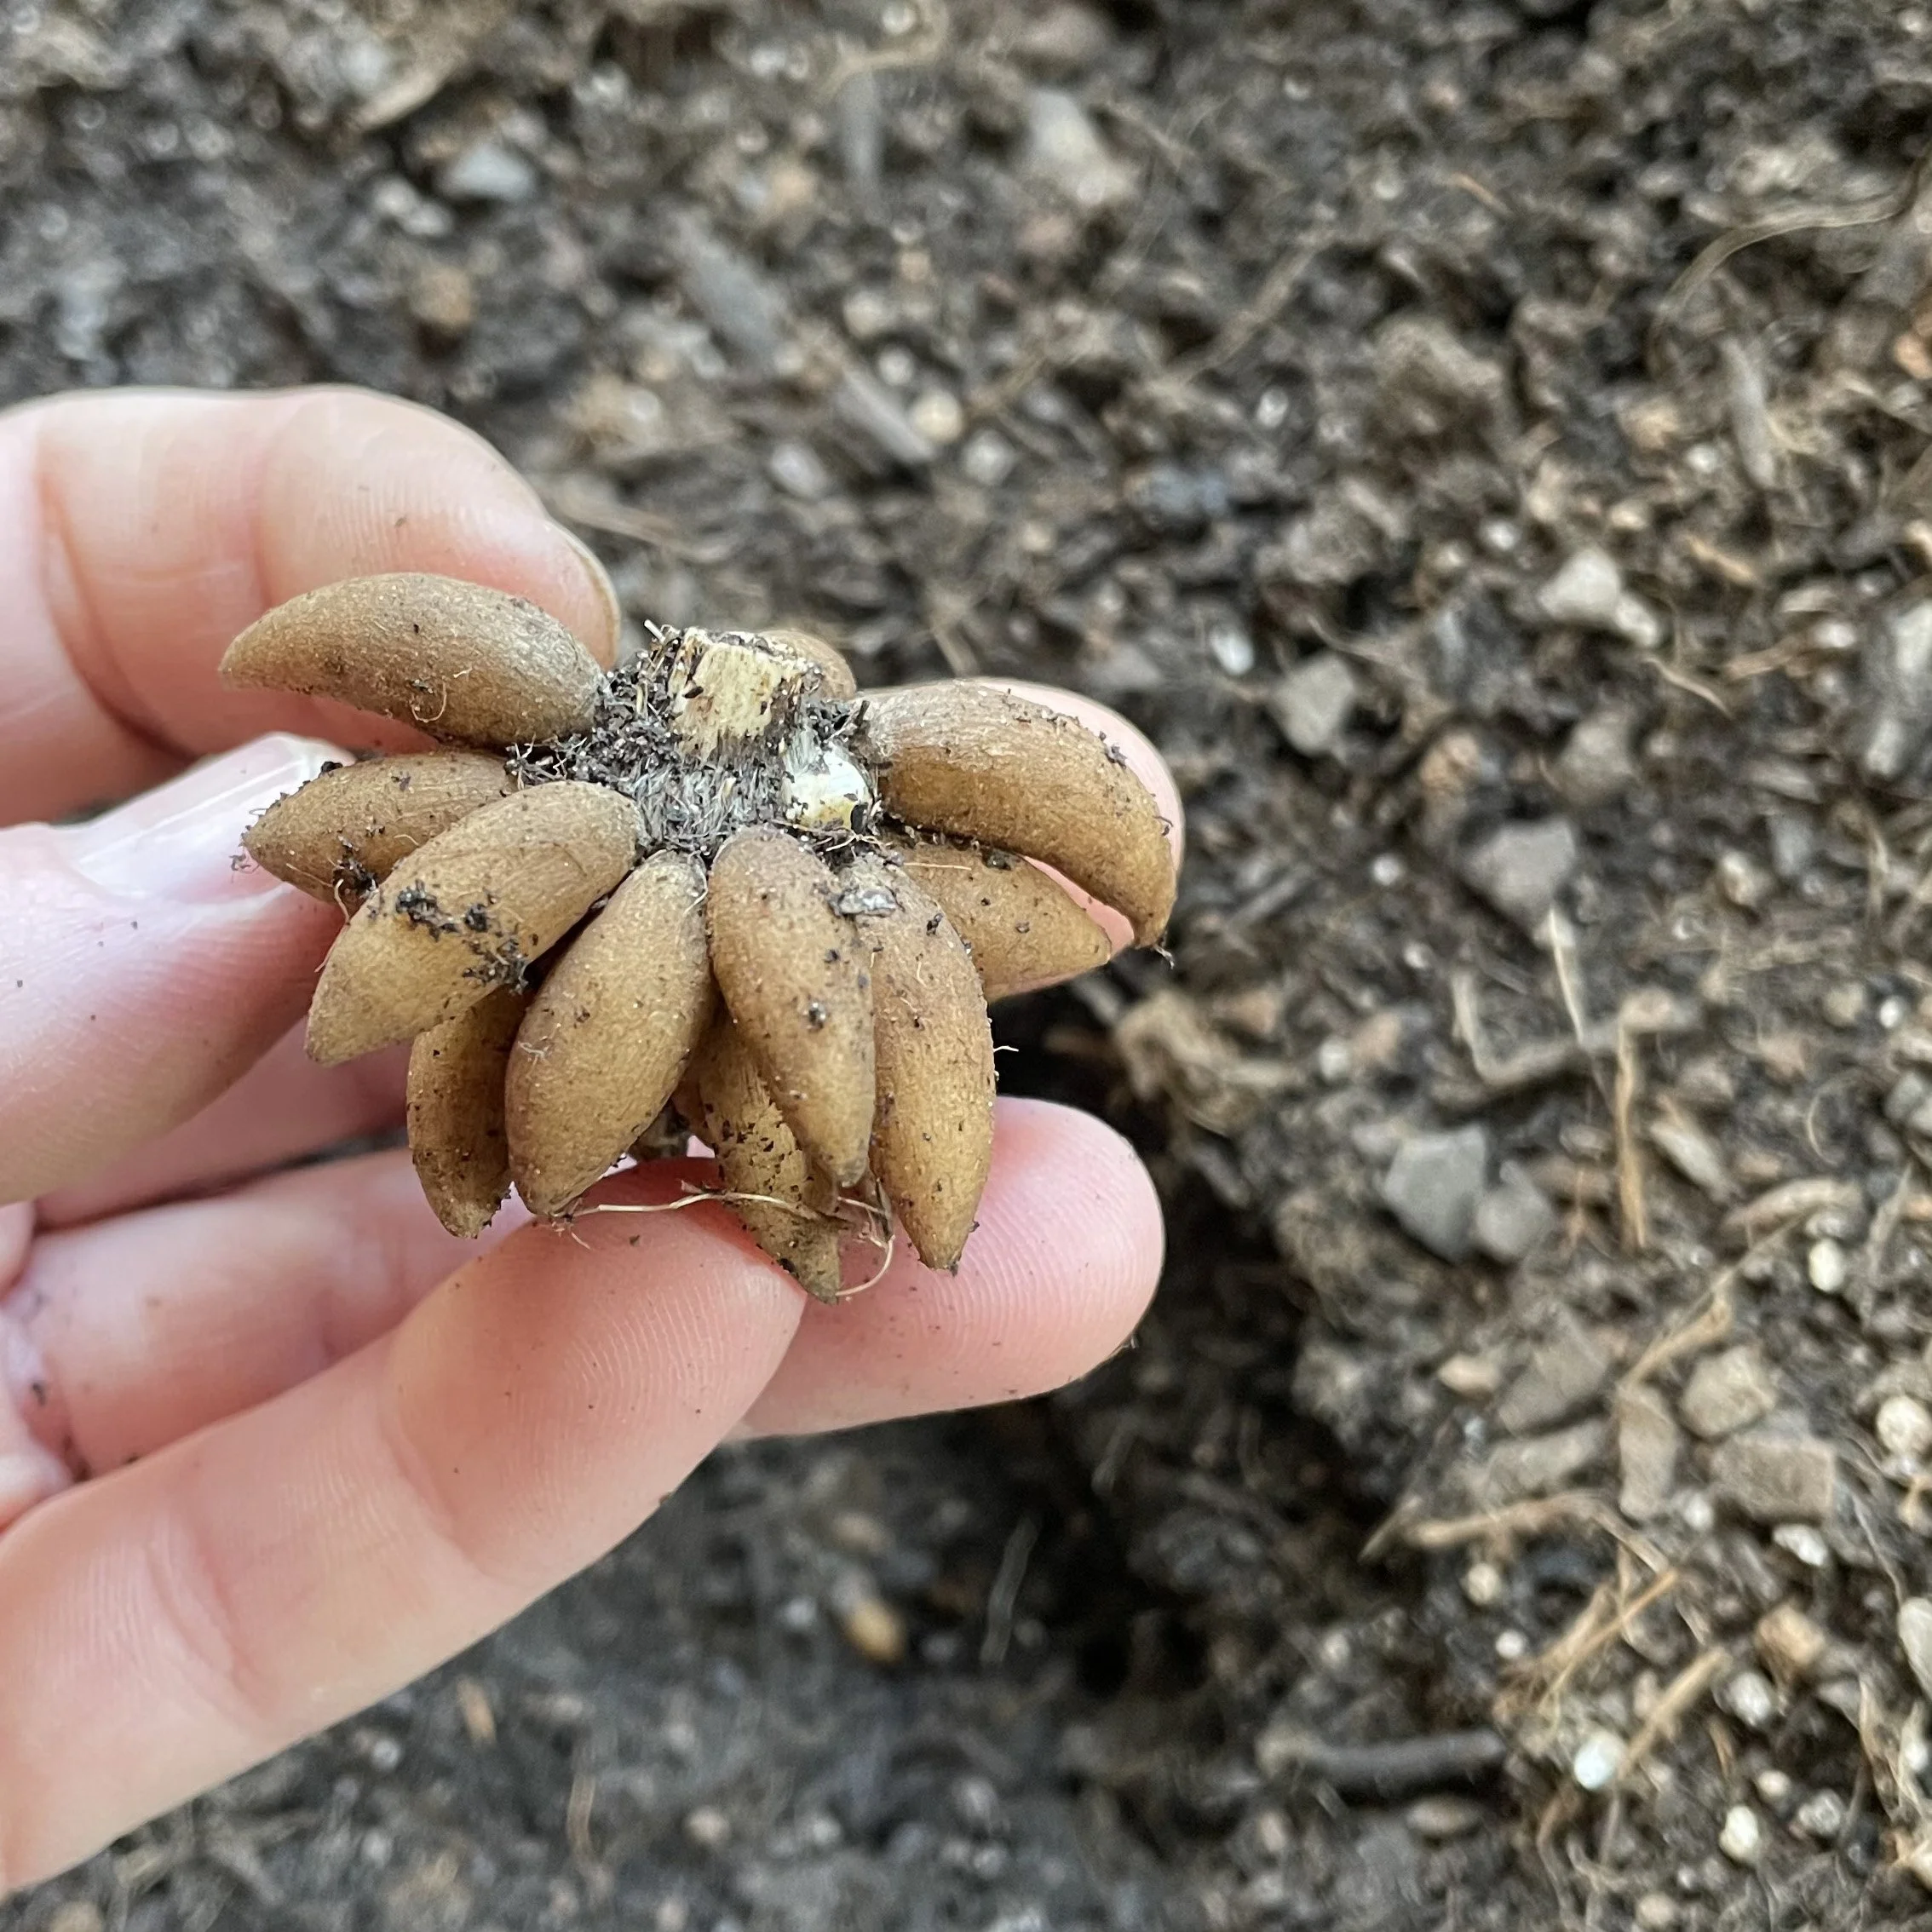
Ranunculus corm, after soaking
Soaking corms
To give the corms the best start, we recommend soaking them prior to planting. When the corms arrive, they will look shriveled slightly. Soak your corms in lukewarm water for 5-8 hours. Be sure not to leave them longer than 8 hours as they can start rotting. If you happen to have an aquarium bubbler or aquastone, you can use this to add oxygen to the water as they soak.
Pre-Sprouting
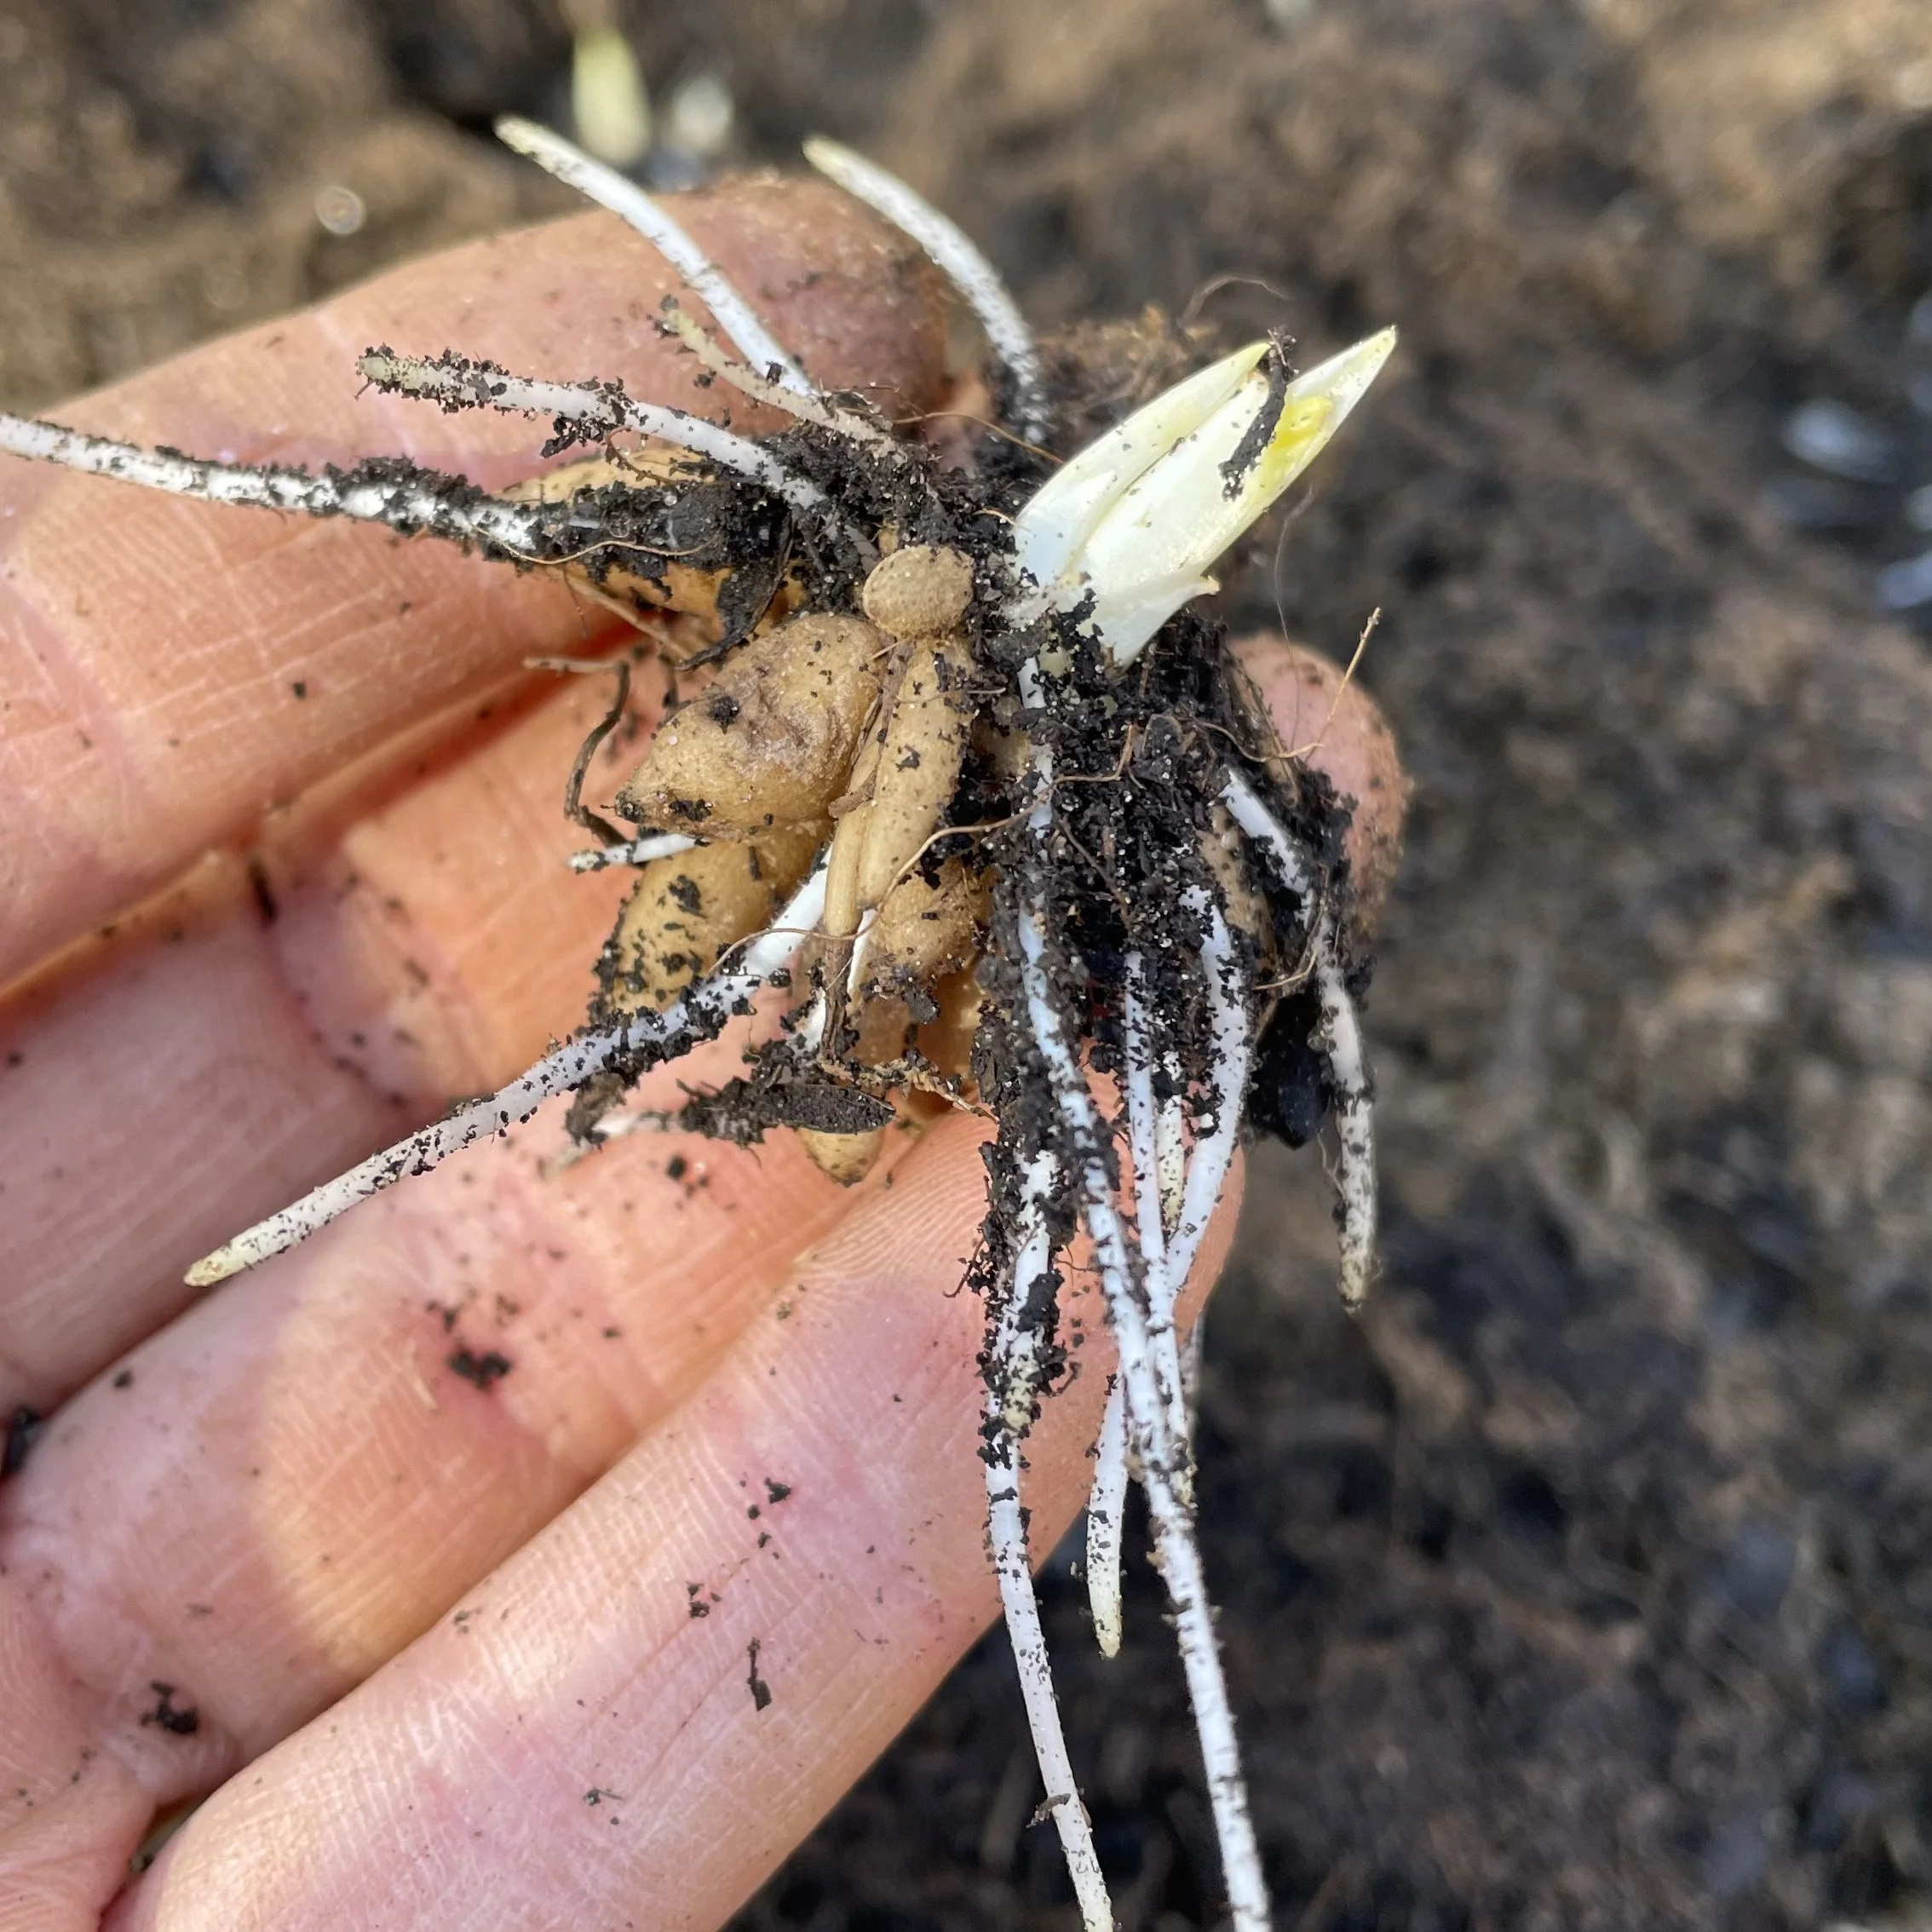
pre-sprouted ranunculus corm with roots and top growth
This is an optional step but one that will set you up for the most success. After soaking, most professional growers will pre-sprout their corms in soil to ensure every corm that gets planted in the field is viable. Our method to pre-sprout is to lay the soaked corms in a 1020 tray lined with 1” of moist (not wet) potting soil. Arrange the corms in the tray and then cover with another 1” of moist potting soil. Cover the tray with a humidity dome and set somewhere cool and dark for about 1.5-2 weeks. Check on the corms and make sure the soil isn’t drying out too much - if it seems too dry, mist lightly and re-cover the tray.
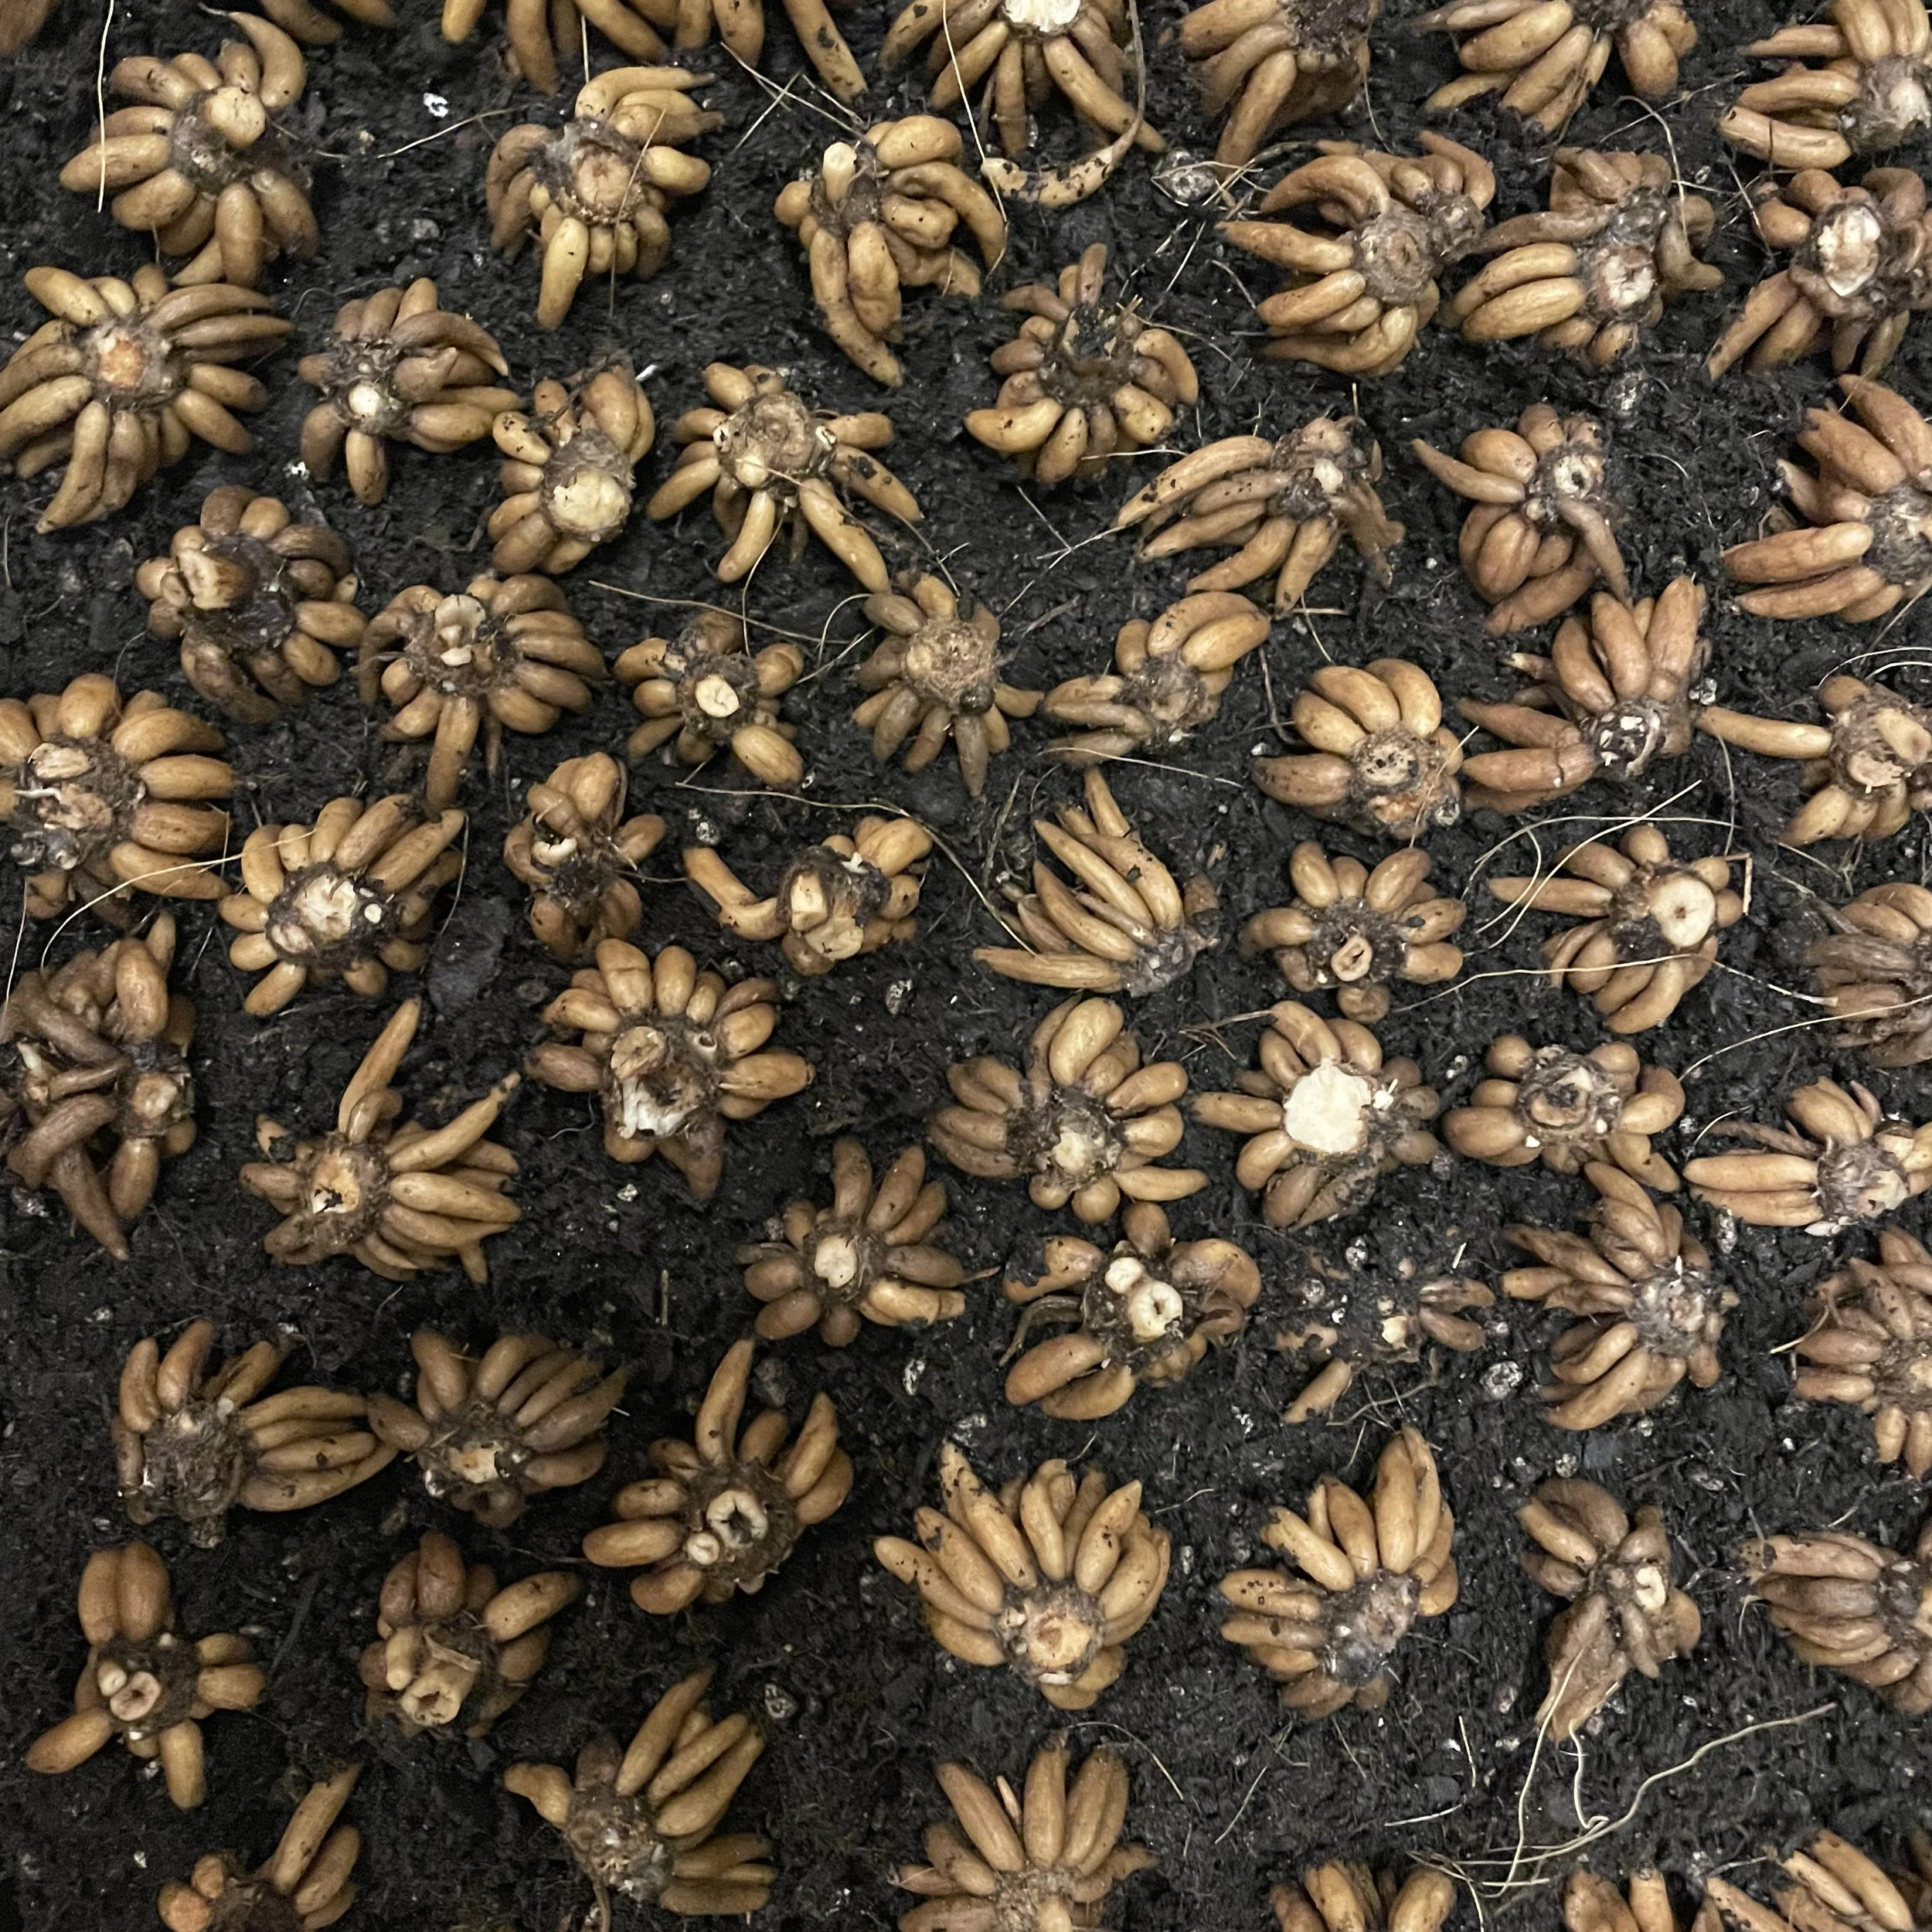
Soaked ranunculus corms, ready for pre-sprouting
Planting
You’ve found your growing location, prepared your soil, soaked your corms and now it’s time to plant!
Ranunculus corms will look like a bunch of bananas - you want the banana points down towards the soil. If you’ve pre-sprouted, this will be obvious with roots and top growth showing. For anemone, you want the pointy end of the corm facing down in the soil.
Spacing: Space corms 6-9” apart. Ranunculus and anemone appreciate good airflow between plants to mitigate disease so don’t go too tight trying to get more plants into one area.
Depth: Dig a 3” deep planting hole and place the corms so that they have at least 1’-1.5” of soil on top of them when covered.
If you did not pre-sprout your corms, do not water the newly planted corms in as we do not want to introduce more chances for rot, especially if you will receive rain after planting. Soaking the corms before planting gives them enough moisture to sprout in your inherently moist garden soil. If you did pre-sprout your corms and they have visible roots coming from the crown of the corm, gently give the soil a little bit of moisture to settle the soil around the baby roots.
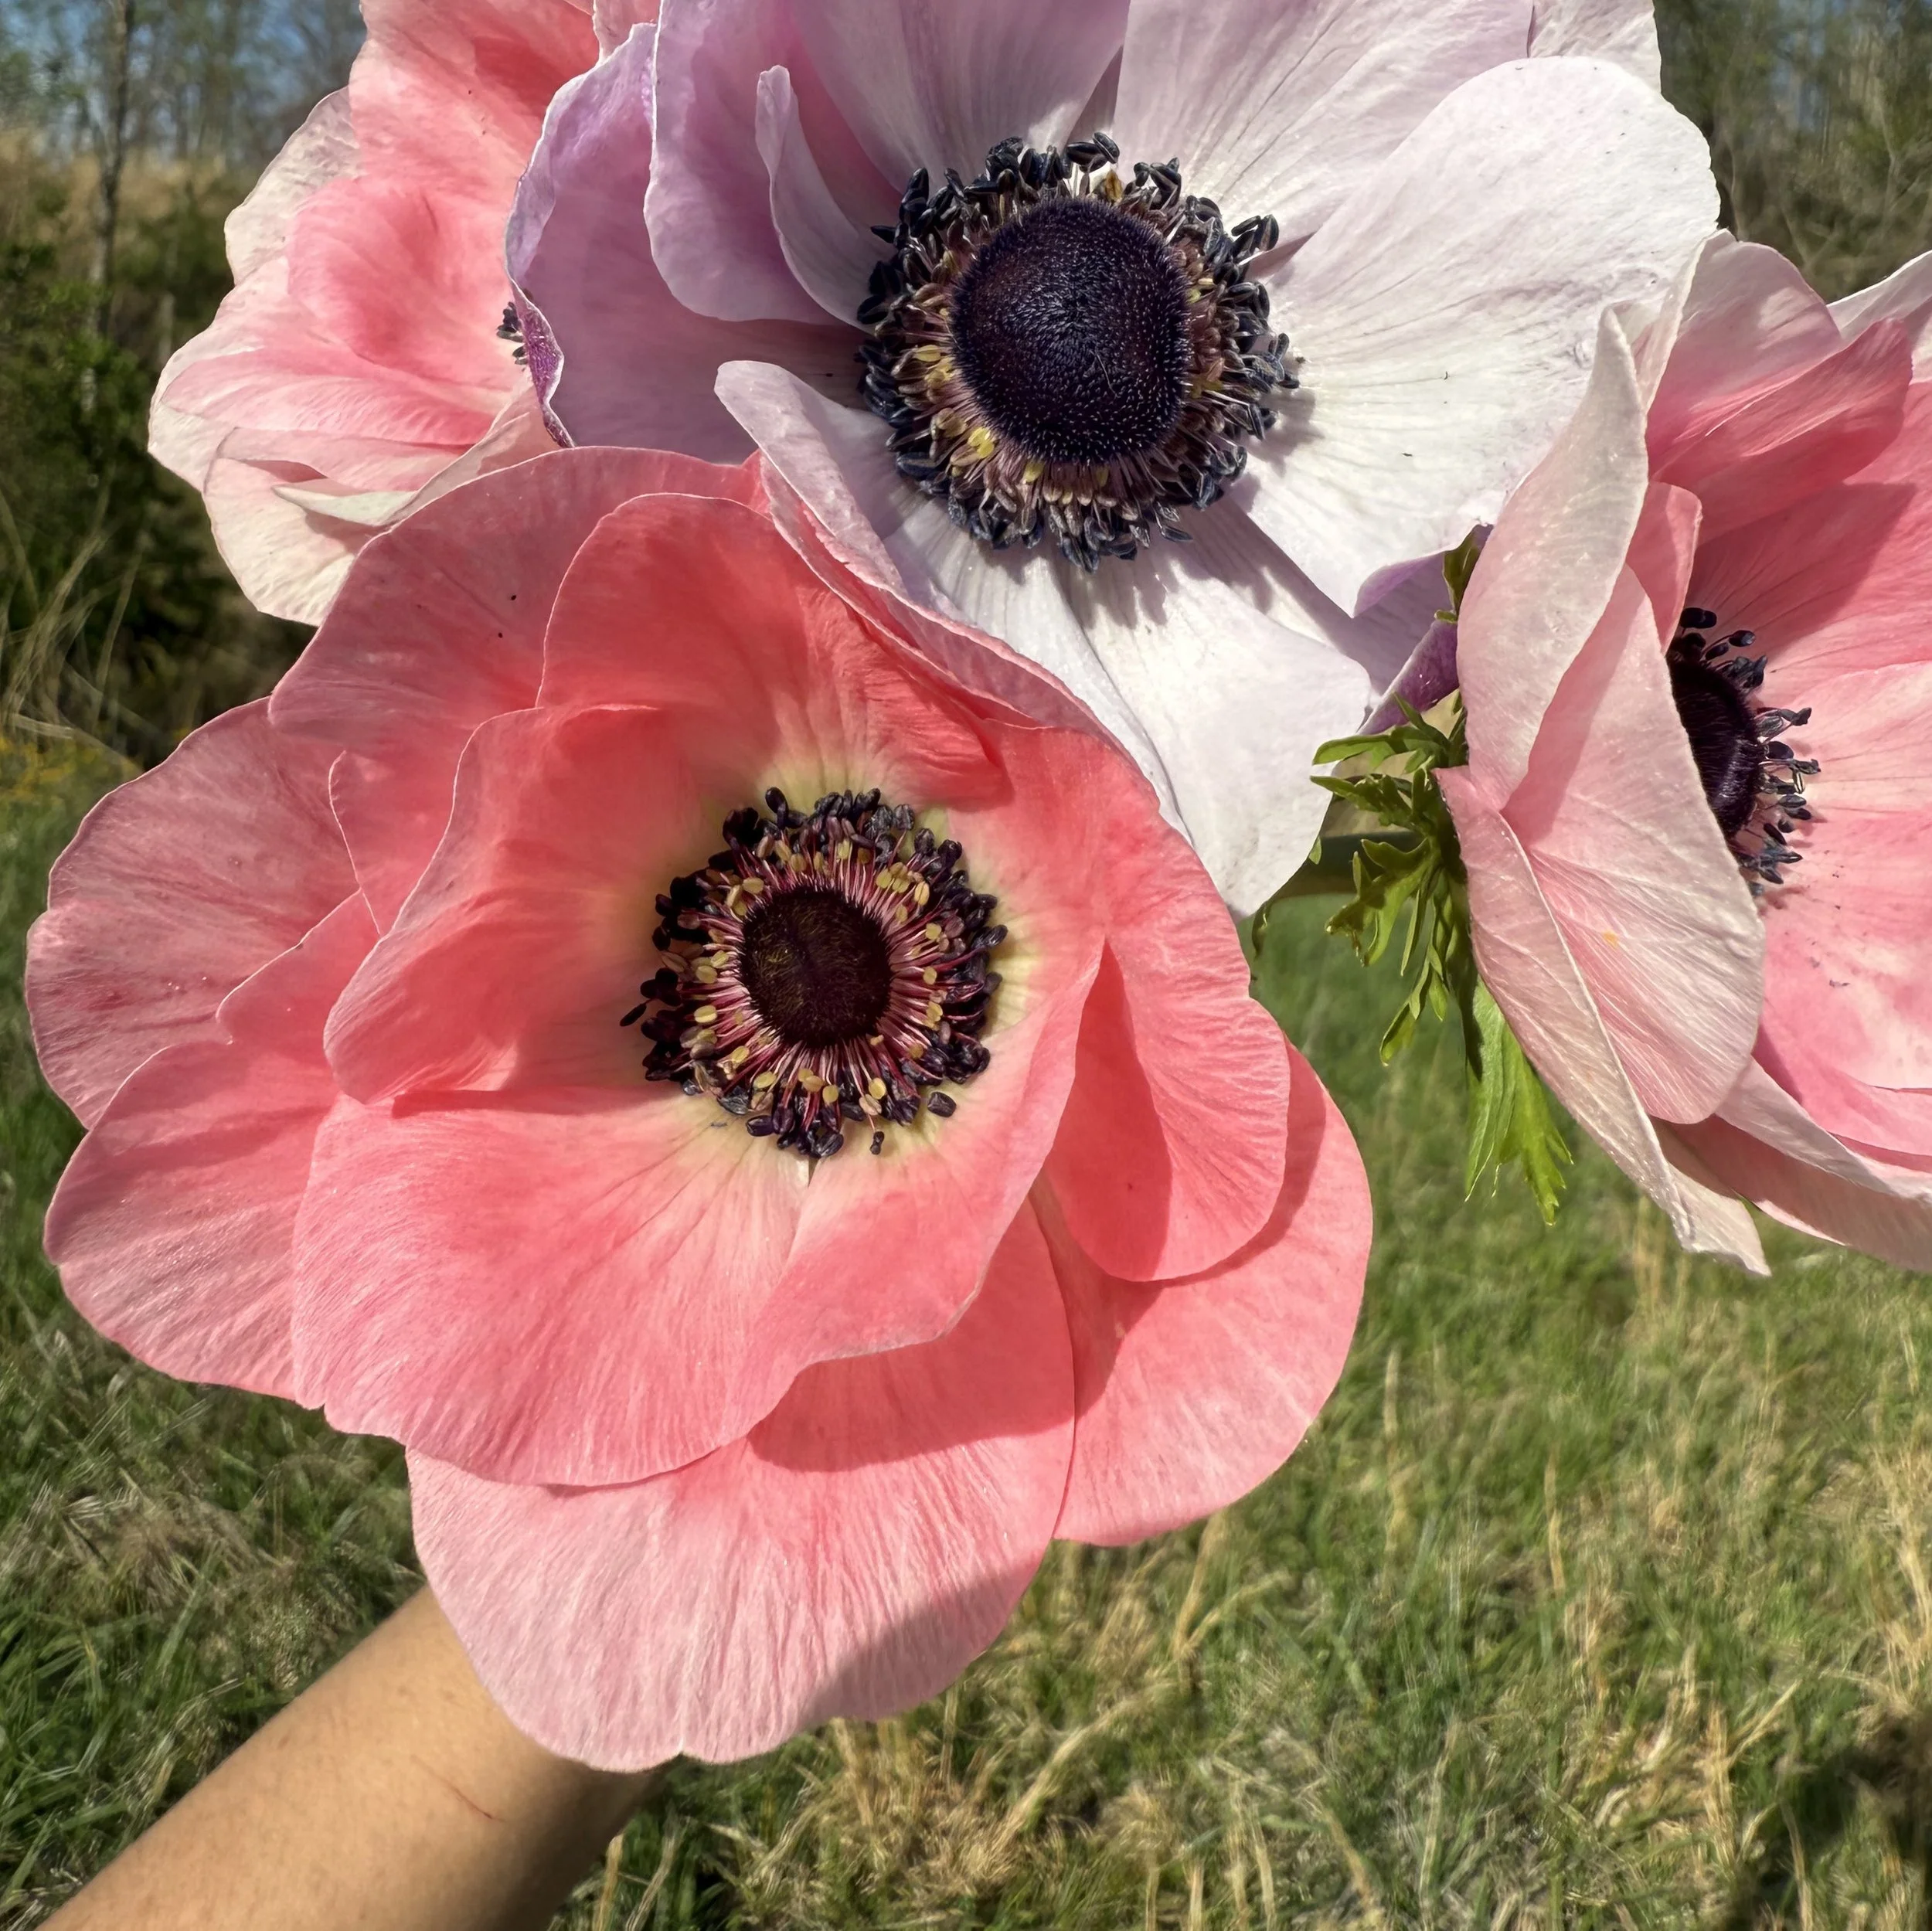
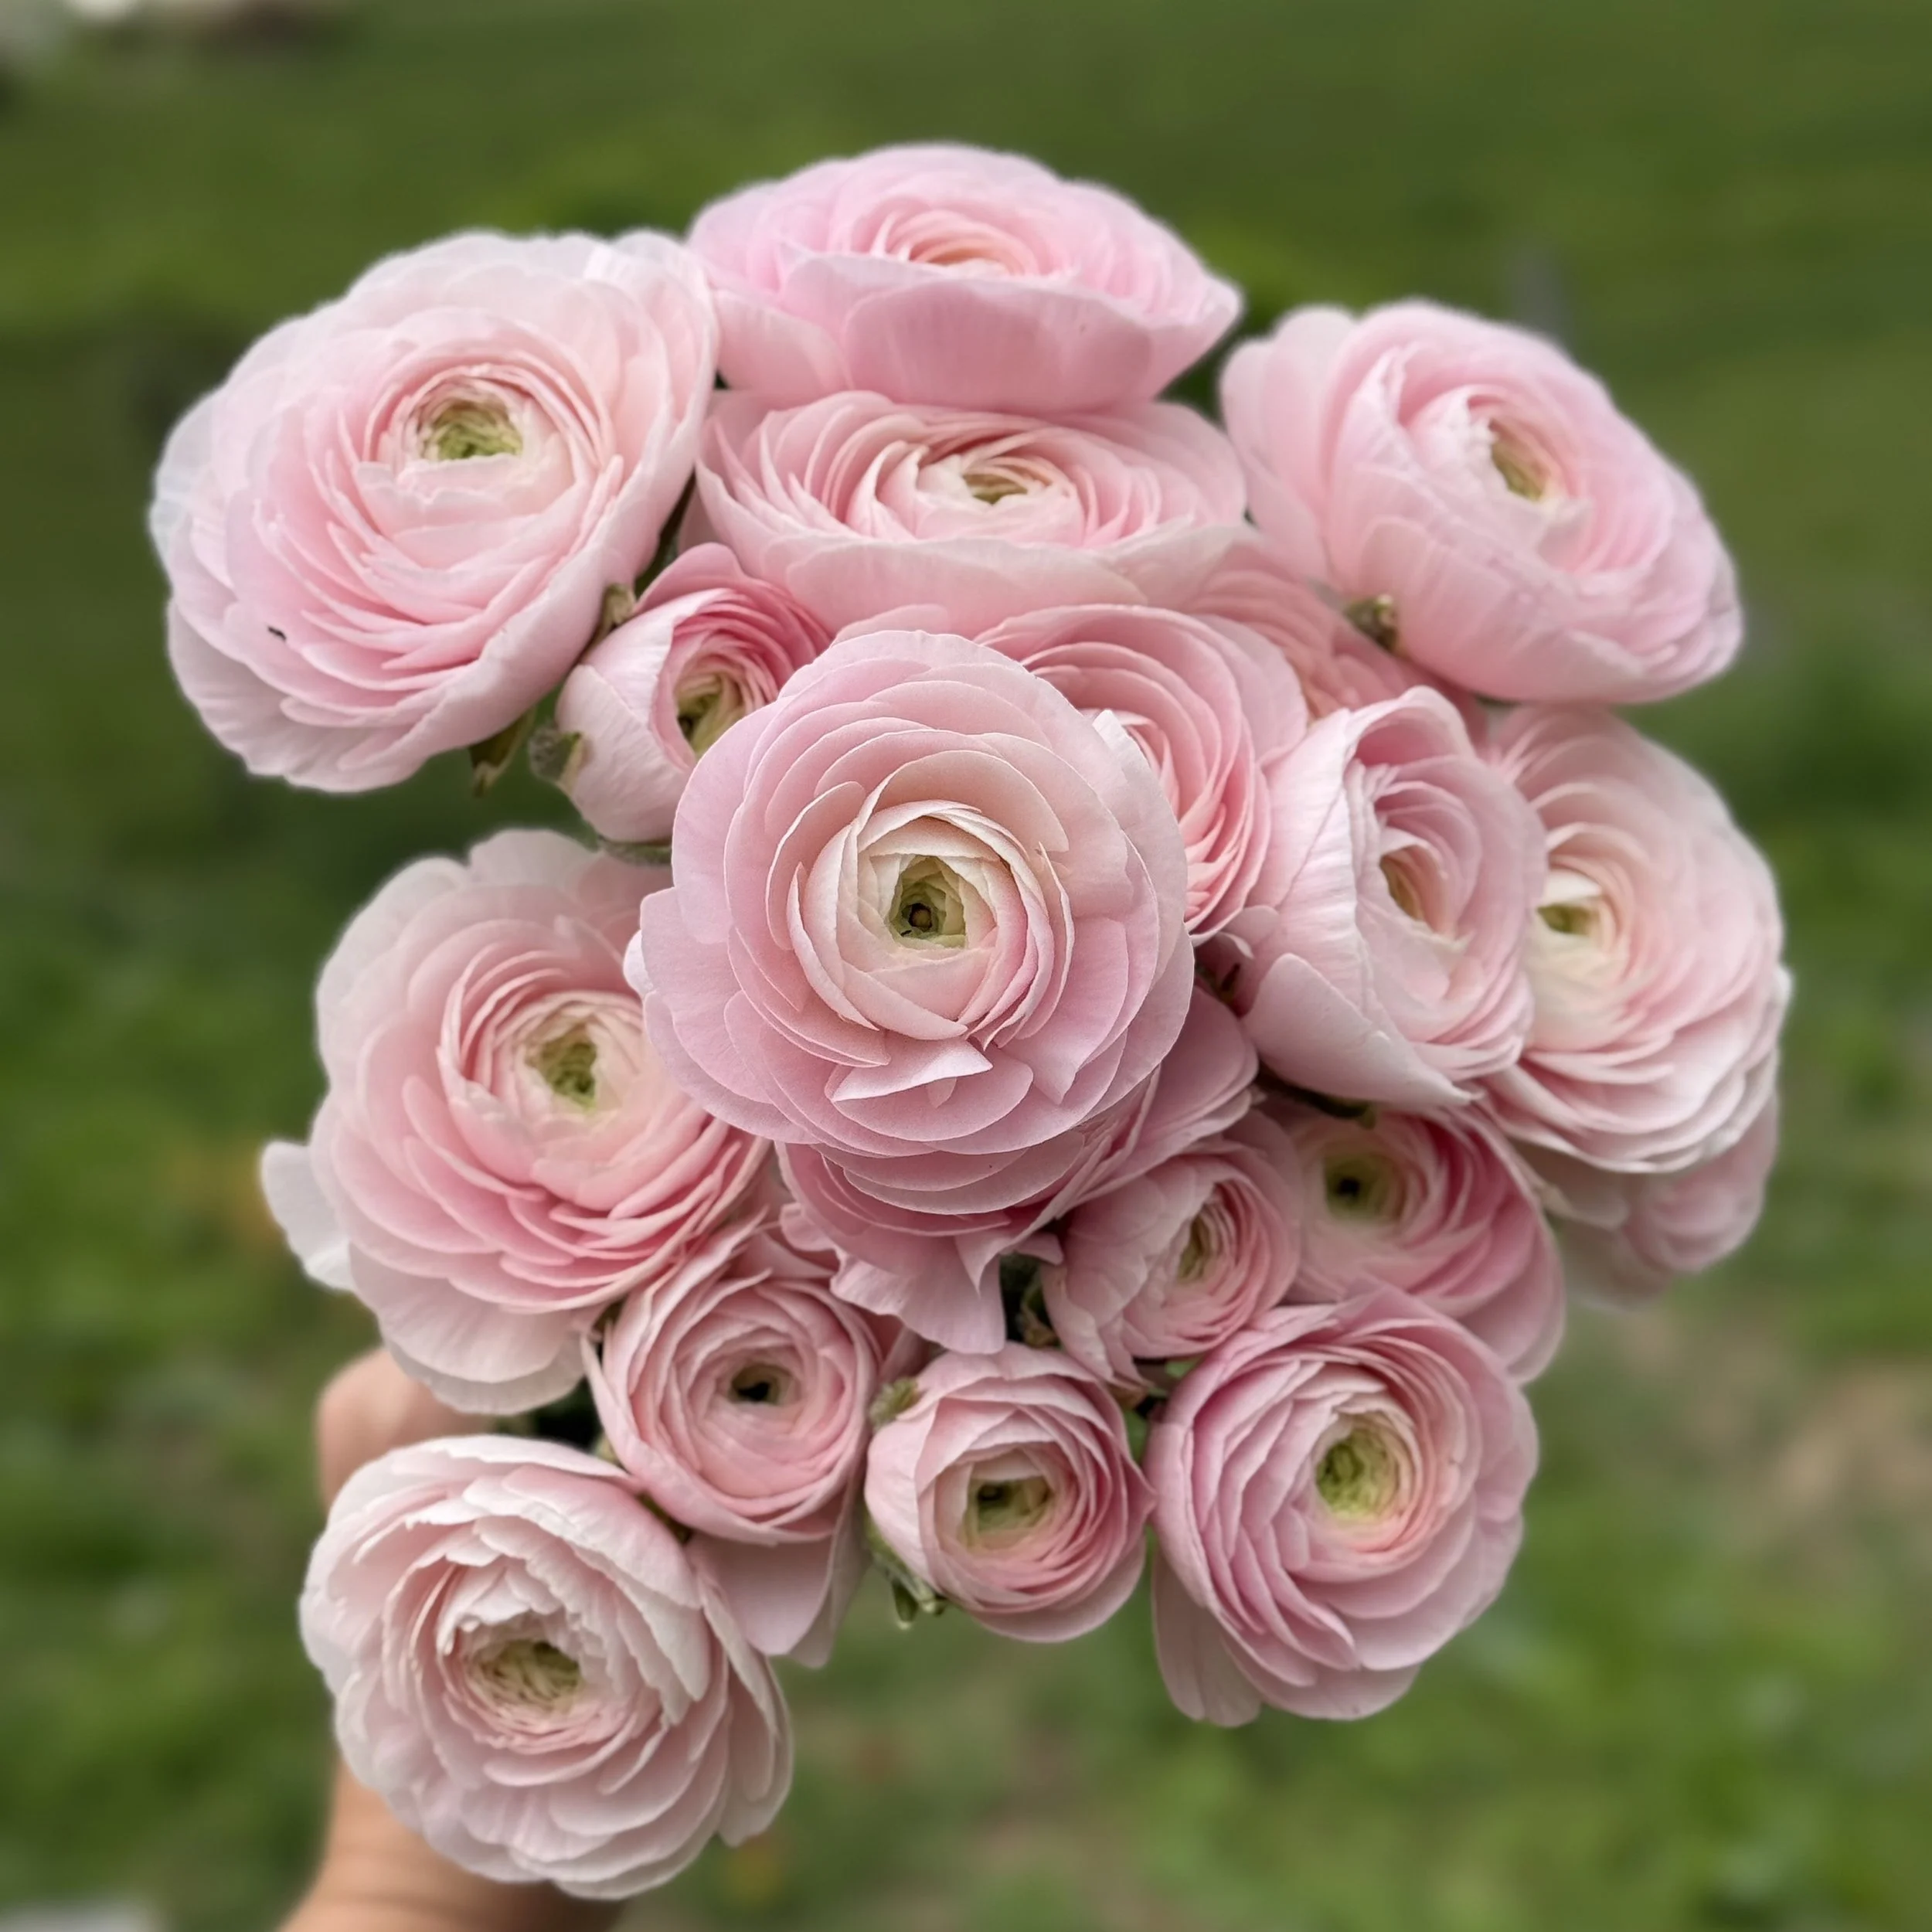
Growing On & Harvesting Blooms
Monitor your plants as they grow. If you’ve fall planted, they wont need much if any water through the winter. You can begin watering a few times a week when the temps get above 40 degrees or so or when the soil starts to feel dry.
Like other plants growing from bulbs or corms, ranunculus and anemone can struggle with soils that are too damp, harboring bacteria. If you start to see leaves turning brown or black, remove any plant material that looks sick.
Once you start watering in the late winter or early spring (depending on your temps) you can give them a light fertilizing. I like to use a light fish emulsion when they are in their foliage stage and switch to a bloom fertilizer just before they begin budding up.
Harvesting